Staff, permissions and preferences
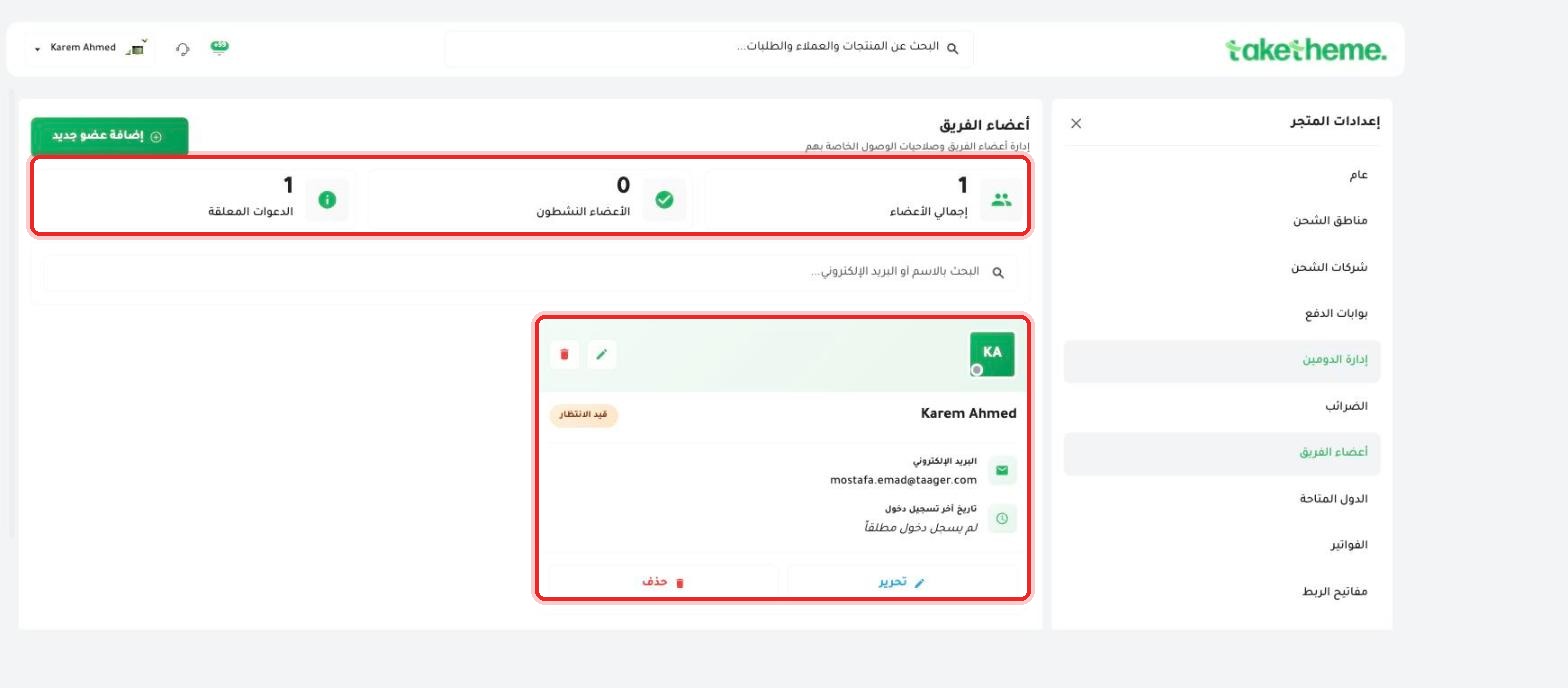 Inviting a Team Member and Setting Permissions
Add new employees to your team and decide exactly what they can see and edit.
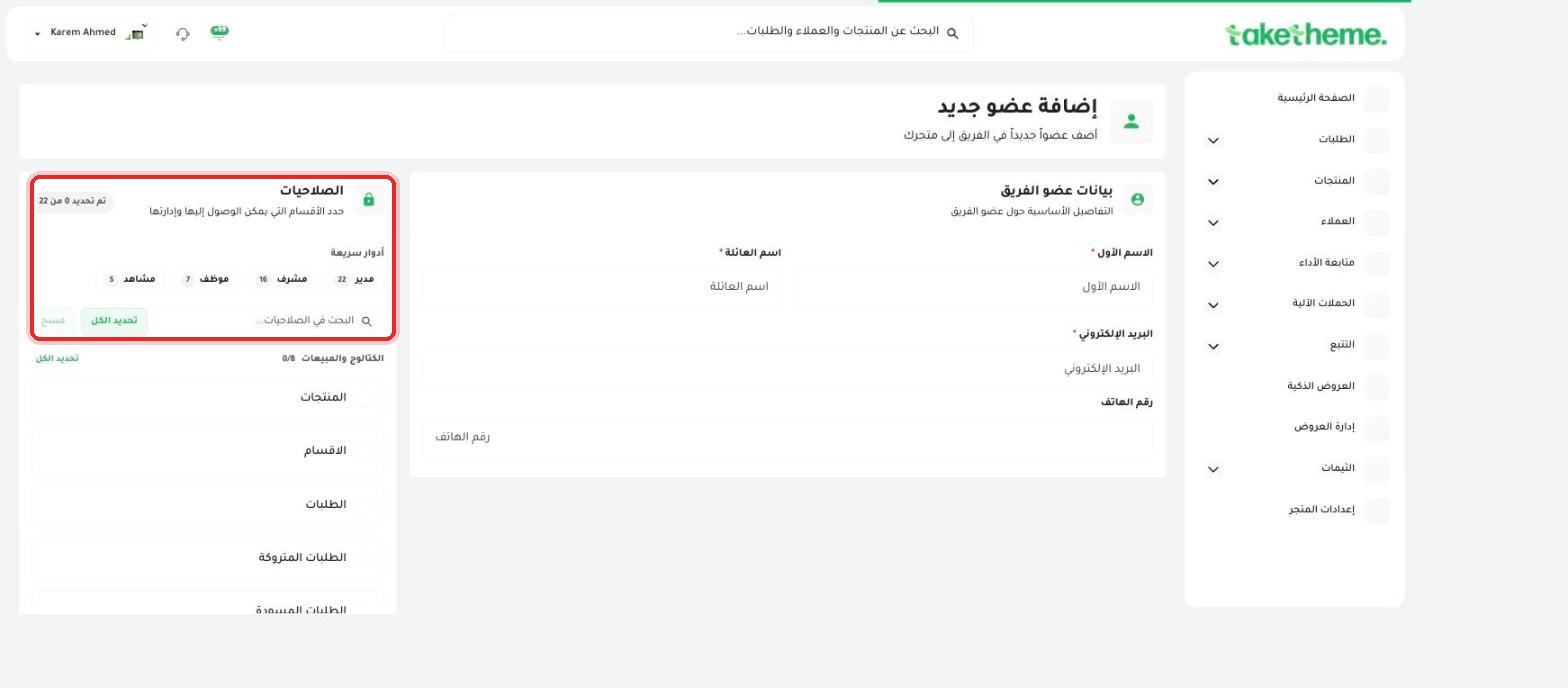 Roles and Permissions in Detail
A complete explanation of all 22 controllable sections, and the four ready-made roles.
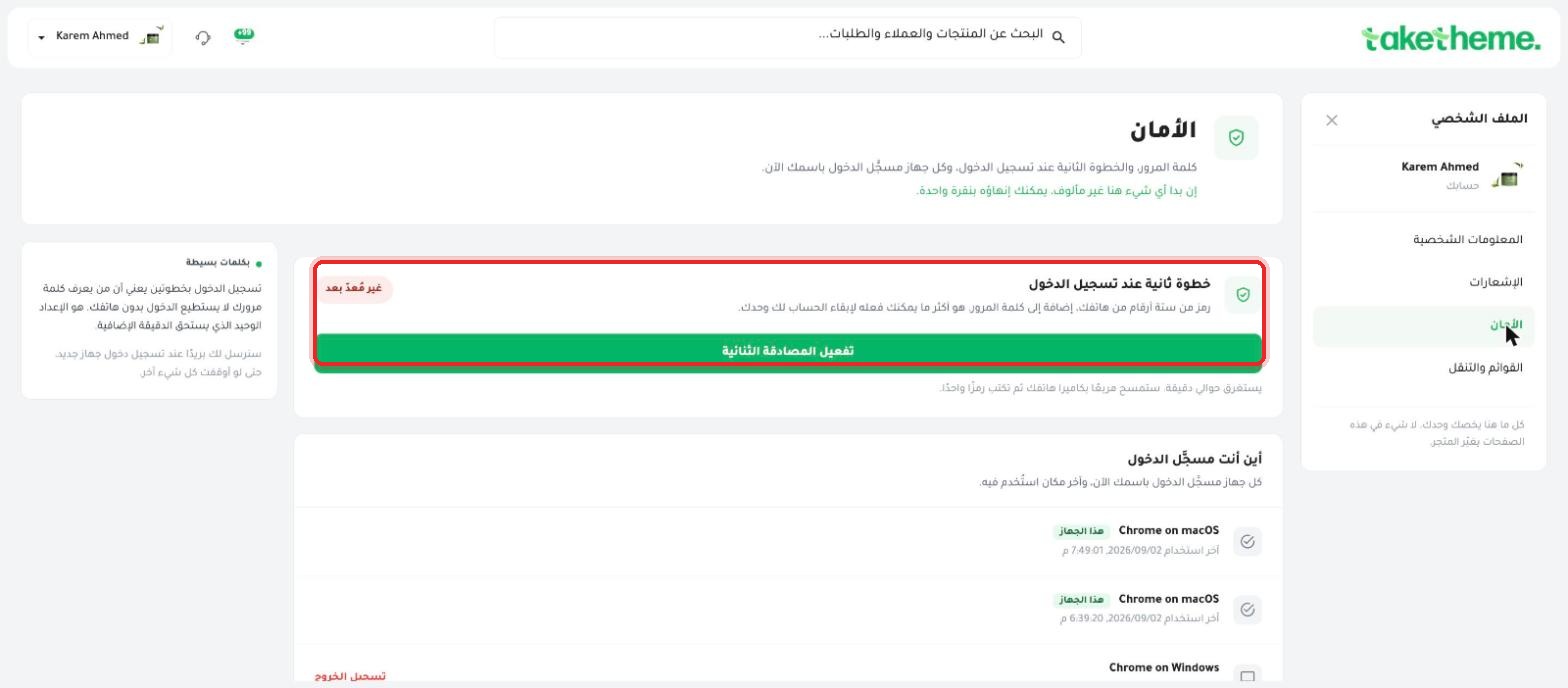 Security Settings and Two-Factor Authentication
Enable an extra verification step at login, and monitor the devices signed in to your account.
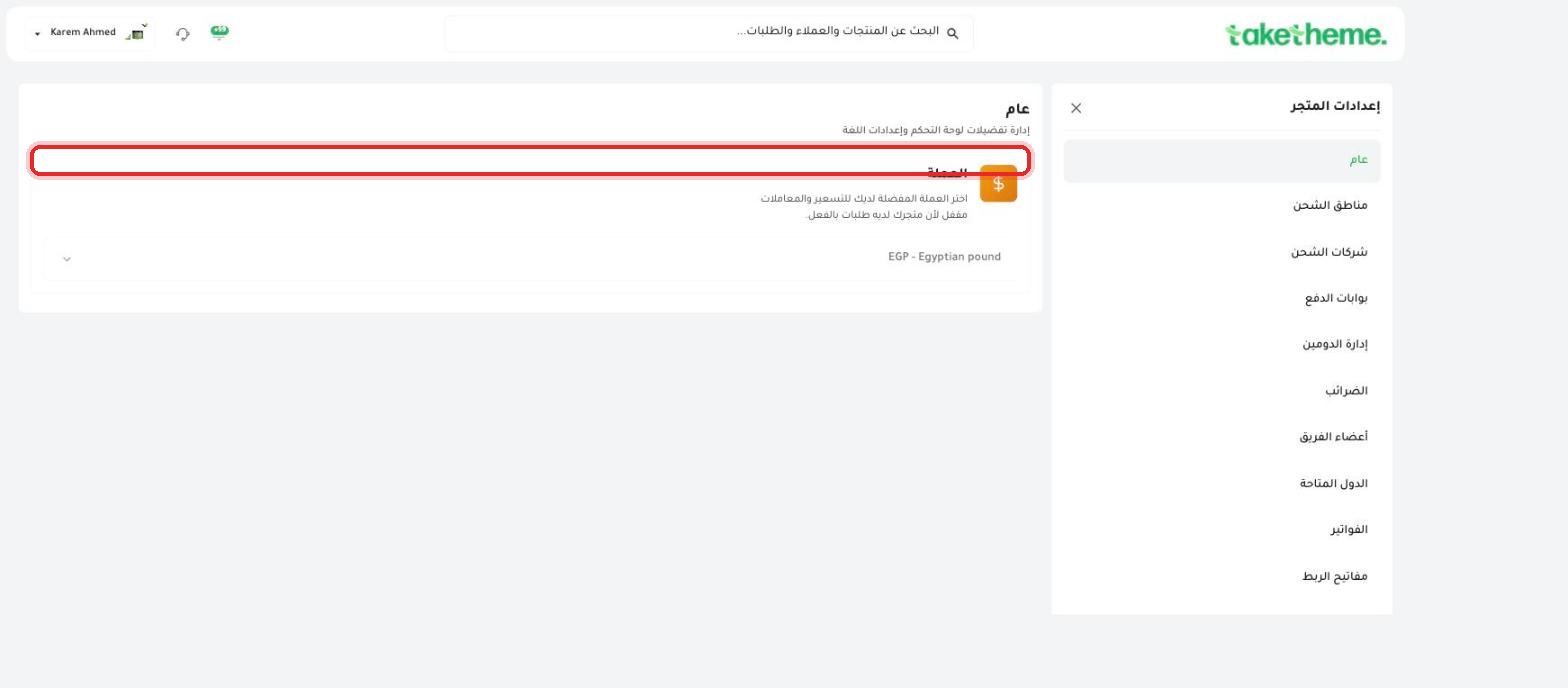 Setting Up Your Store's Base Currency
Choose your store's currency carefully — the field locks automatically as soon as your first order arrives.
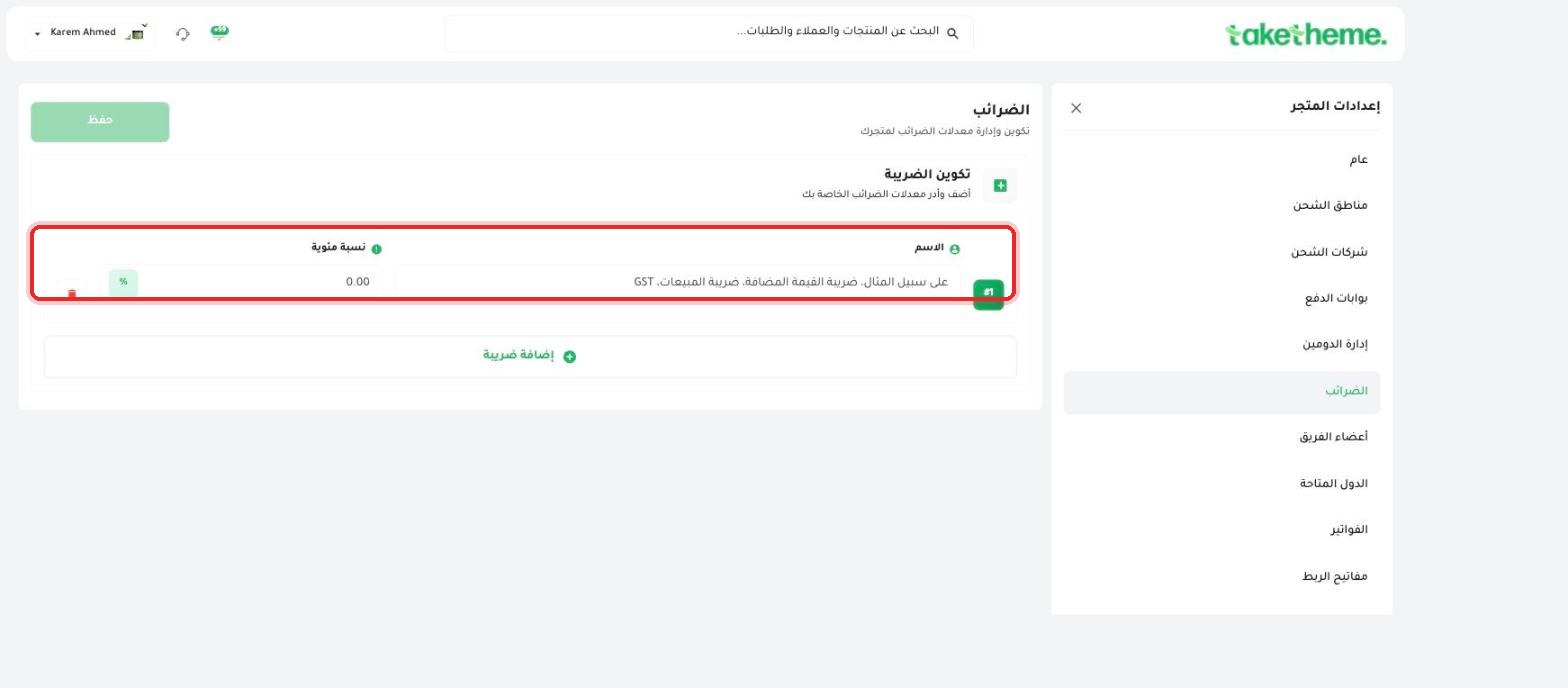 Setting Up Taxes
Add tax rates on your sales from the tax settings.
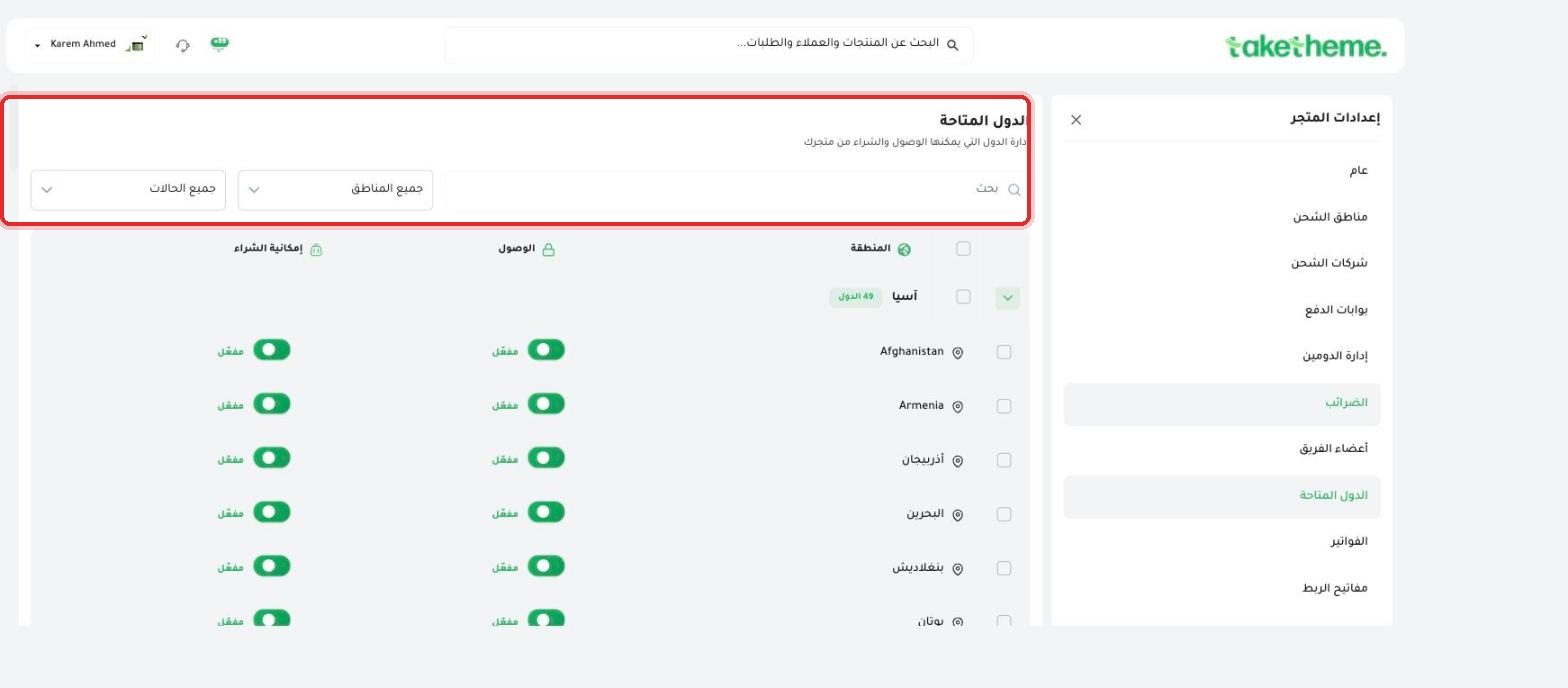 Supported Countries for Selling
Independently control which countries can reach your store and which can actually purchase from it.
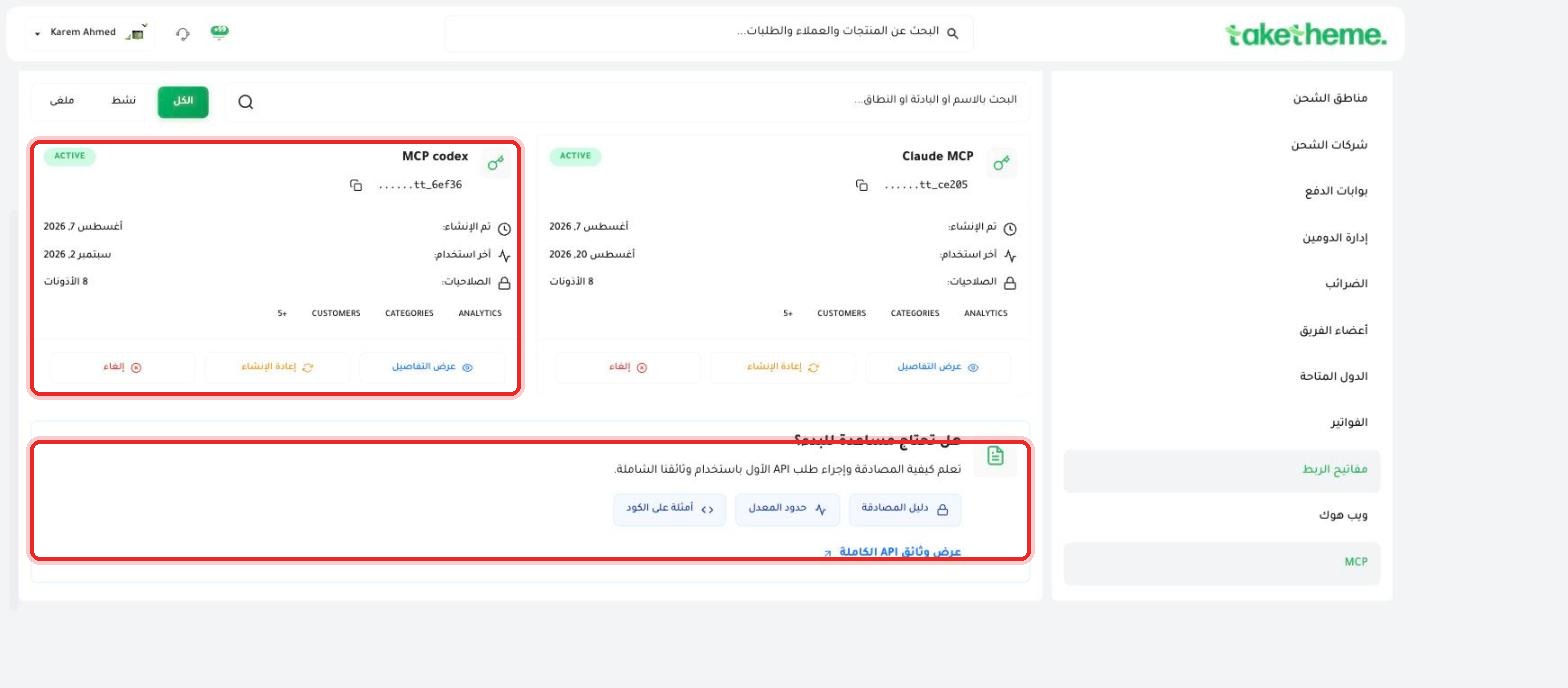
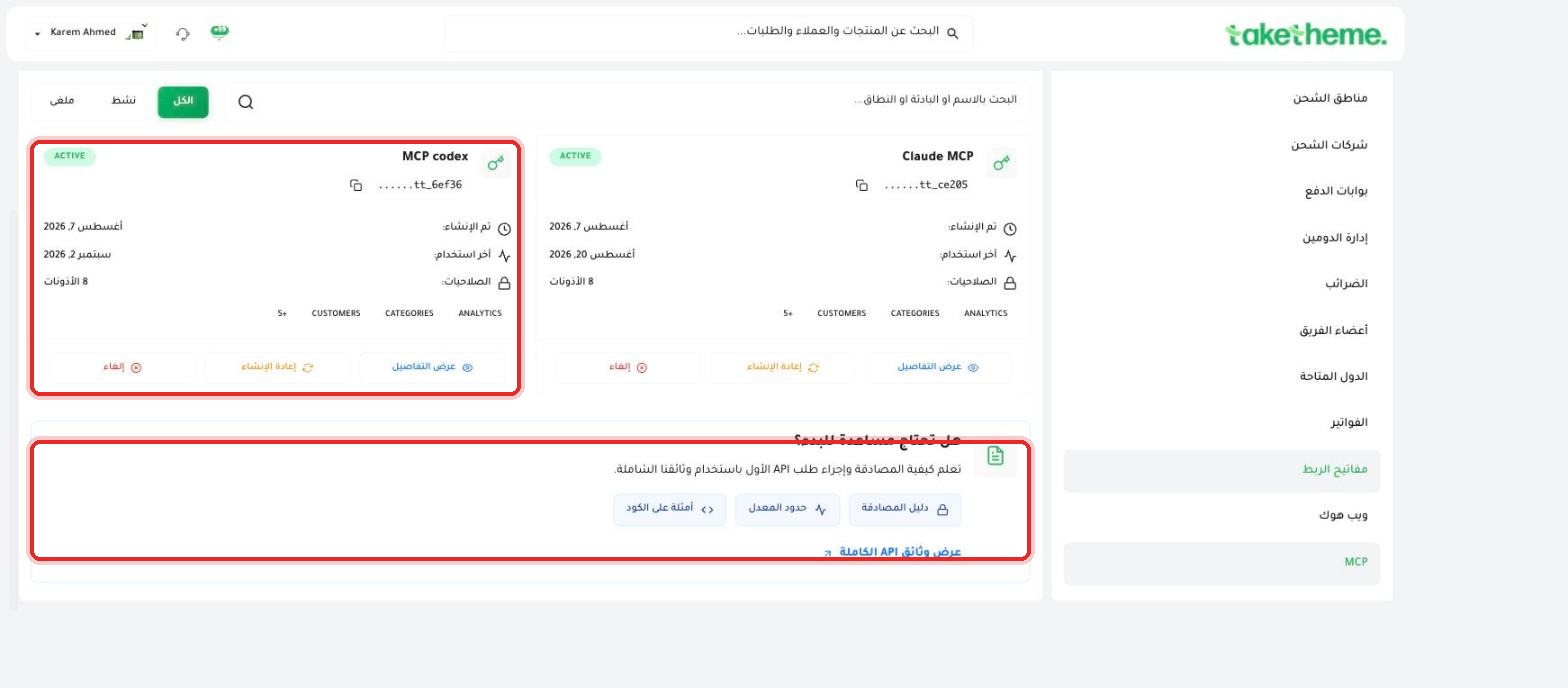 API Keys for Developers
Create and manage API keys to connect your store to external apps and tools.
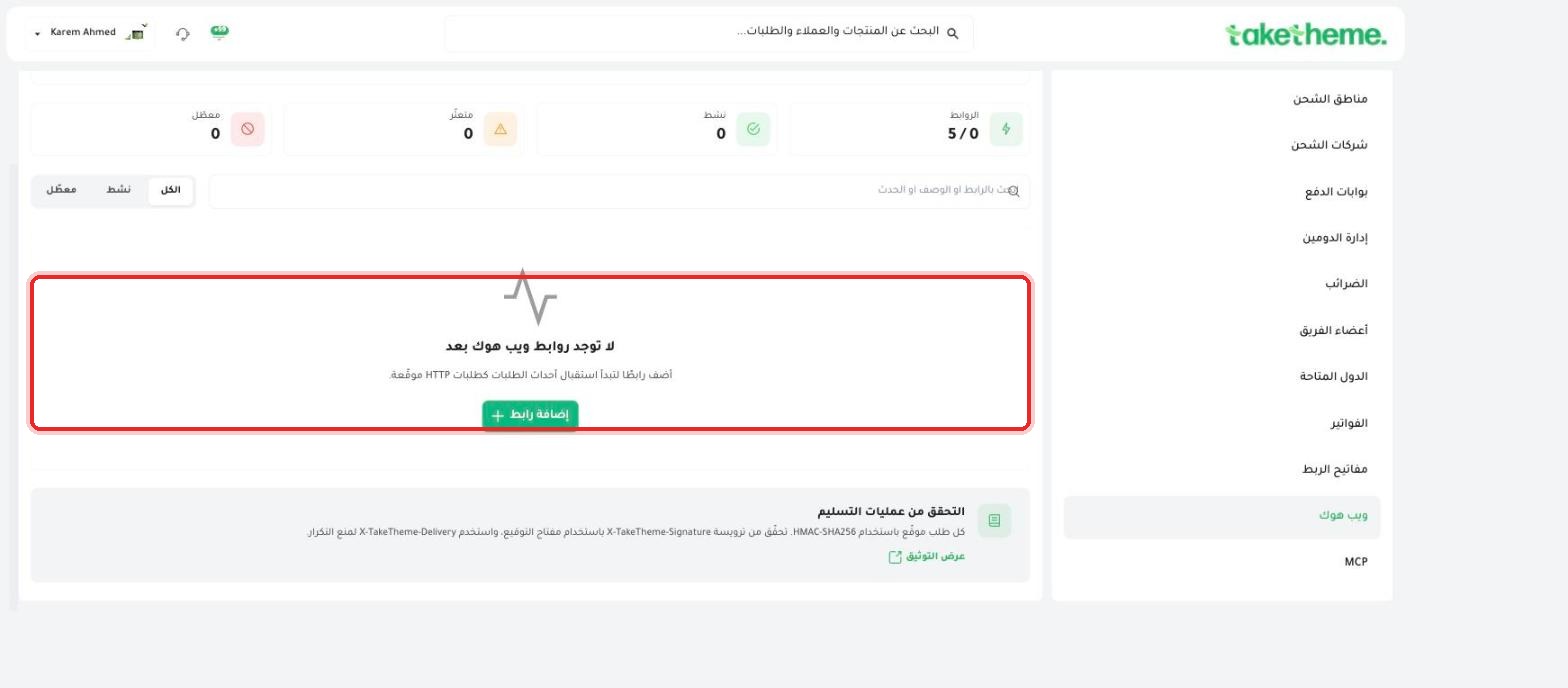 Setting Up Webhooks
Receive your store's events (orders, updates) as signed HTTP requests on your own server.
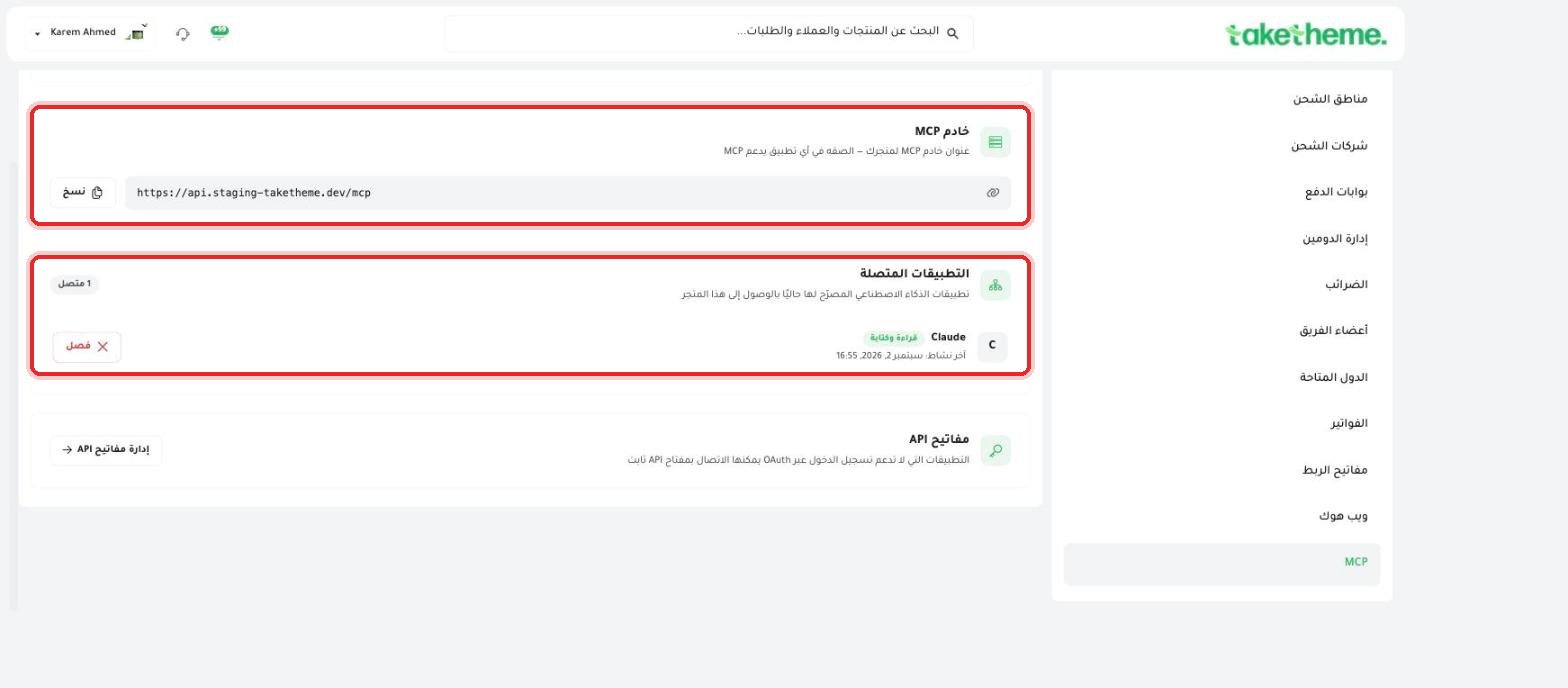 Connecting Your Store to AI Tools via MCP
Connect your store to AI applications like Claude through the MCP protocol.
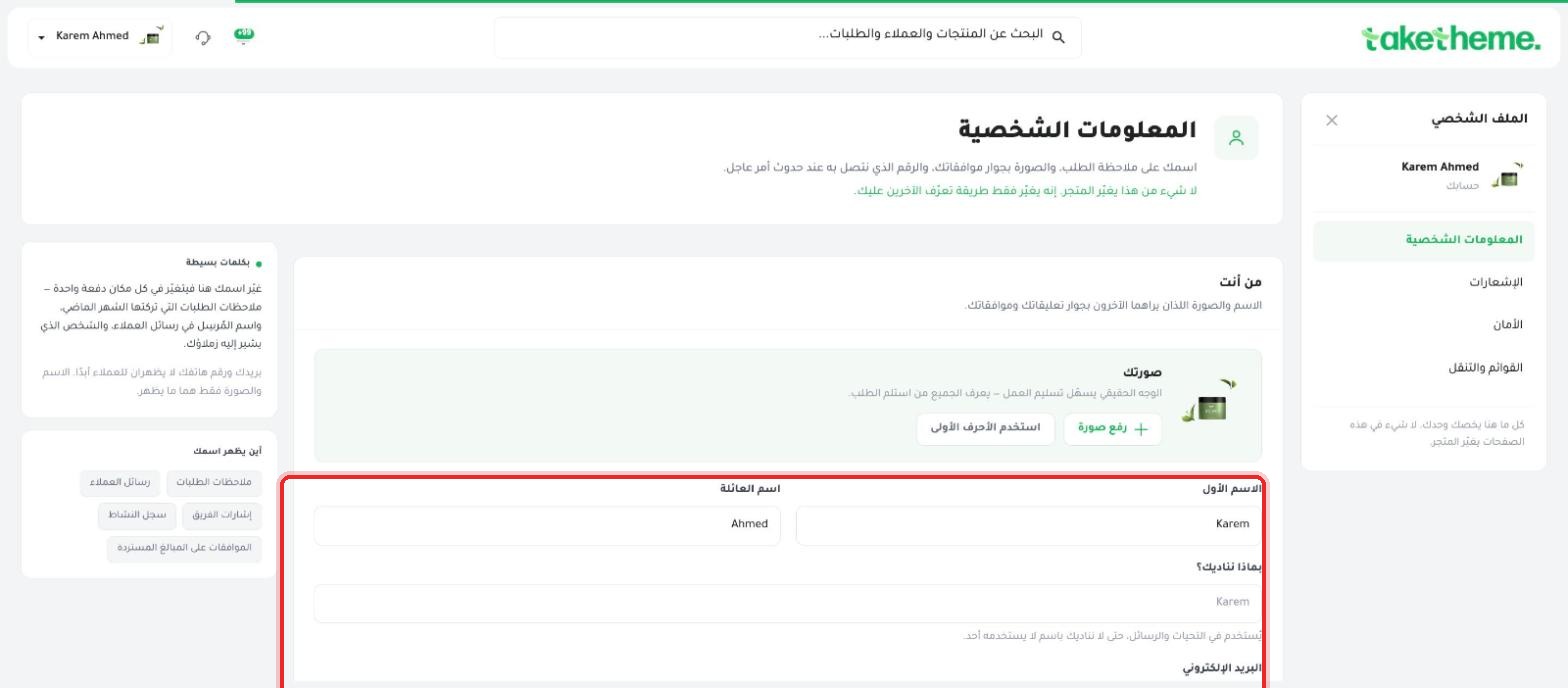 Changing the Dashboard Language
What we found (and didn't find) about controlling the dashboard's display language.
 Setting Up Email on Your Domain
The logical steps for connecting an email address to your own domain, and what we couldn't directly confirm.
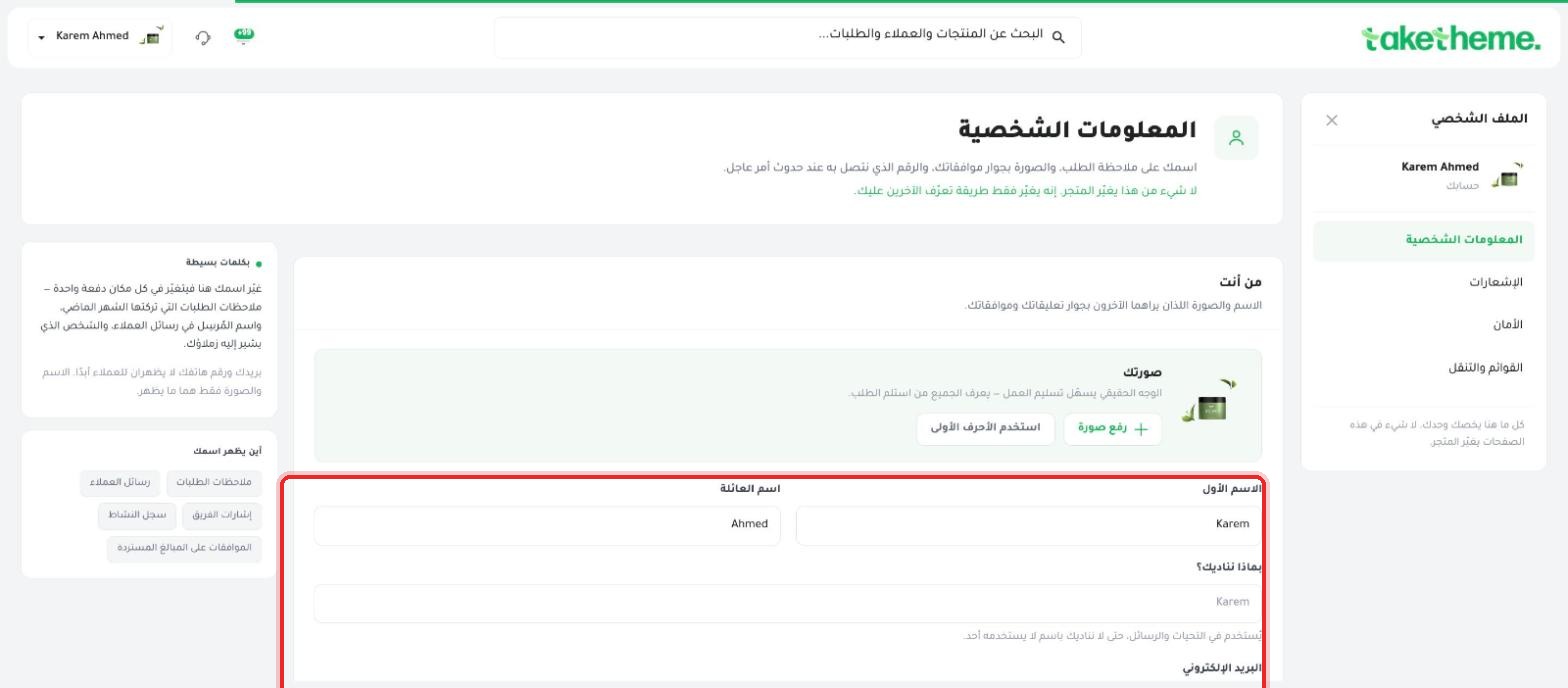 Managing Your Store Info and Contact Page
The difference between your profile data and your store's public data, and where to edit each one.
FAQ About Account and SettingsQuick answers to the most common account and settings management questions.
Go to Settings → Staff, invite a member by email and set their role (manager, sales staff, shipping supervisor).
From the profile menu at the top → Settings → Language; the change applies only to your account, not the storefront language shown to customers.
Connect a professional inbox on your store's domain (like info@yourstore.com) from the domain settings once it's connected.
Add your domain from Settings → Domain and update the DNS records as instructed; it usually activates within a few hours.
Edit your store name, logo and the contact details shown to customers from General Settings at any time.
ابدأ اليوم
3-day trial · no credit card

